Yin yoga has many benefits, but yin yogis also need to include active strength-based movement, so that the body and tissues remain balanced.
Yin yoga relies on the theory that tissues need appropriate stress to become resilient, supple, and strong. Yin yoga puts pressure on connective tissue and ligaments by holding passive postures, mostly on the floor, for a longer period of time. Holding poses in a more receptive way can also calm the nervous system, help us develop our meditation practice, and increase the circulation of Prana or Qi through the body’s energetic system.
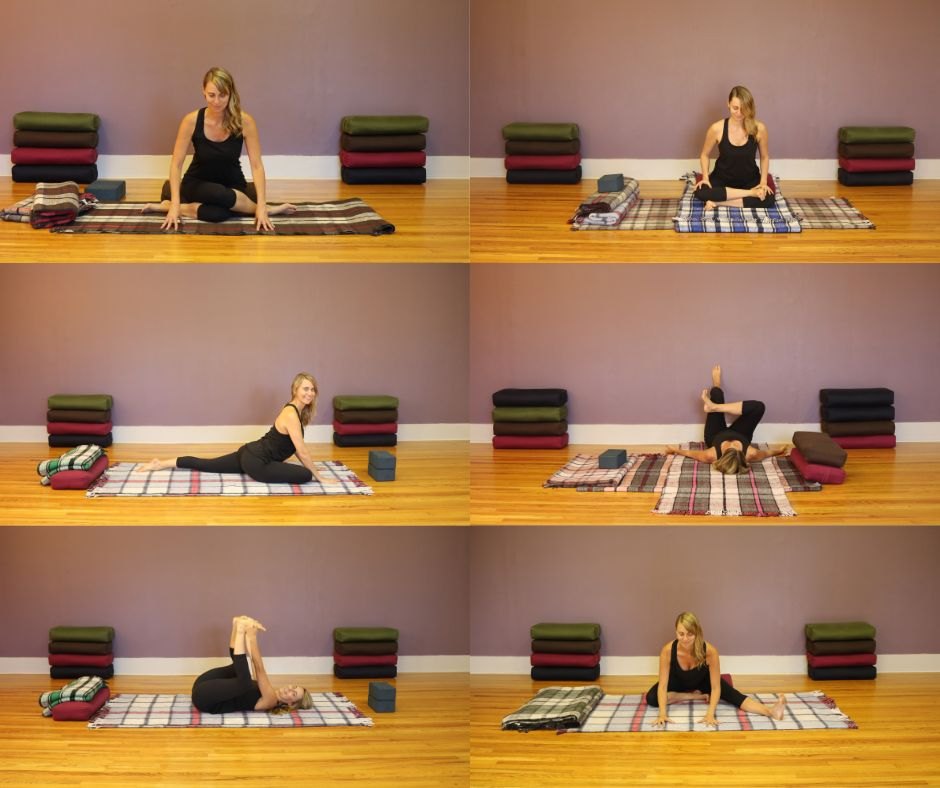
Below, you’ll find a yoga video featuring four movements you can easily incorporate into any practice. These movements will help build strength and stability in a few key areas that tend to be particularly weak among yin yogis. Use these movements before or during your yoga practice, or use them on their own.
Clamshell
This movement helps strengthen the outer hip compartment. It provides stability to the hip, pelvis, and legs. Clamshell is especially helpful if there’s weakness in the gluteus medius or gluteus maximus (butt muscles), or if there’s been overstretching in the groin or hip from the category of poses usually called “hip openers”.
Lie on your side, hug your knees up towards you, and stack your hips, feet, and knees. Keep your feet together and lift your top knee off your bottom knee. To make this movement more demanding, use a resistance band around the thighs. Do 10-15 repetitions.
Active Bridge Pose
This movement helps strengthen the posterior chain (back line) of the body, particularly the glutes and hamstrings. This is especially helpful if there has been an emphasis on stretching the back line with forward folding.
To focus this movement on strengthening the glutes and hamstrings, lie on your back, bend your legs, and plant your feet about hip-distance apart. Bring your arms to your sides. As you lift your hips, press your heels into the floor and engage your glutes (butt muscles). Without lifting your feet, imagine you’re pulling or “scrubbing” your heels into your body. Hold the pose, then slowly lower.
Practice different angles by walking your feet away at varying distances. Practice the same movement as you lift the hips and engage the back body.
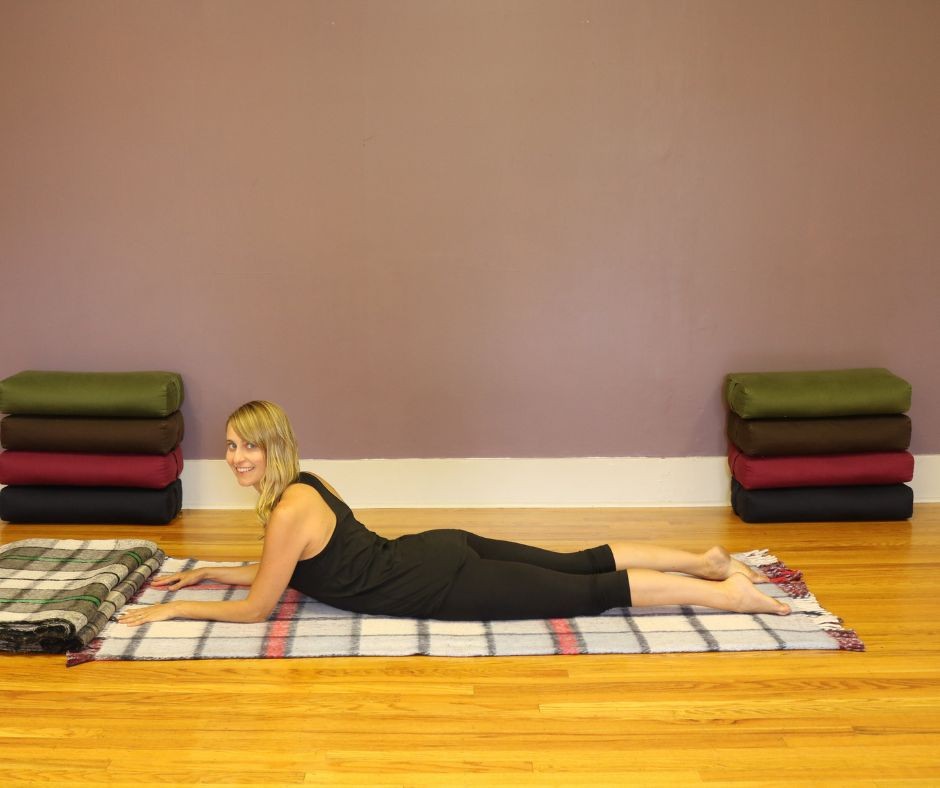
Pointer Dog Pose
This movement helps strengthen the back muscles. In particular, the multifidus muscles, which are stabilizers located very close to the spinal column, are involved. It can be helpful to support communication in the back muscles for lower back pain and sensitivity.
From all fours, place your palms on the floor under your shoulders and your knees under your hips. Press into your hands and knees. Gently extend your left leg behind you and your right arm in front of you, keeping your low back still. Lower back to the ground. Repeat the movement on the other side. Alternate side to side.
If you feel unstable in this movement, start with only the legs. Once you have worked with this exercise for several weeks (and only if you feel ready), you can incorporate extending your opposite arm while the leg is lifted.
Spinal Undualtion
This last movement opens the diaphragm, frees up mobility in the sacrolumbar junction, and helps you access your core musculature. It is similar to a sit-up, except the focus is on moving with the breath. Focus on the wave-like movement through the spine and the connection between the cranium and the sacrum.
Start by lying on your back, bending your legs, and planting your feet at least hip-width apart. Interlace your fingers behind your head, inhale, press your elbows down, and tip your pelvis into anterior tilt (tilt forward, arching the low back). Exhale, round your spine, scoop your tailbone under, lift your head and upper back off the floor and draw your elbows together. Continue and repeat, moving with your breath pattern.
You can also come up on a twist, then lower down through the centre a few times. Finish this movement by doing a few cycles back up through the midline before releasing to the floor and pausing. Feel any space and subtle changes in the body and tissues. Learn more about this movement in this class.
I hope that gives you some ideas for your next yoga practice!