In my private medical practice, lower back pain is one of the most common areas of discomfort I see. Many people will experience lower back pain at some point in their lives. The cause of this pain can be mechanical, including vertebral disk problems, nerve issues, and degeneration, but the reason may be unknown in many cases. The good news is that you can take many steps to relieve low back pain and maintain the long-term health of your back.
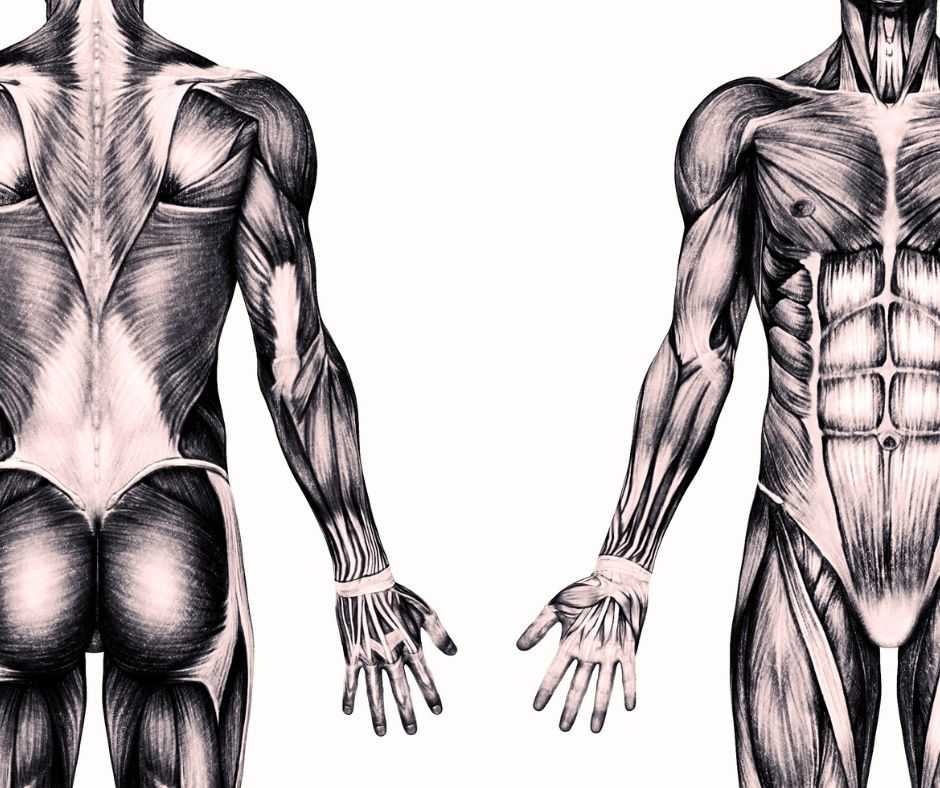
The following movements are designed to bring more flexibility to the spine or strengthen the abdomen and the multifidus muscles in the back to create more stability. These exercises are appropriate for almost all back pain sufferers, especially those with chronic disc issues or instability in their low back. However, caution should be exercised during acute or severe episodes. Consult a yoga instructor or healthcare professional to ensure proper form and technique in acute cases. These exercises are only guidelines and cannot replace the advice of a qualified yoga instructor or health therapist.
To gain the most benefit from this practice, stay consistent by practicing these every day, or every other day, over a few weeks to a month. Pay attention to how your body feels and responds to the movements as you practice. If something doesn’t feel right at any time, or you feel pain, stop the exercise or adjust until you find a comfortable place.
Many movements in yoga can help with lower back pain! Check out this yoga practice video for a few ideas:
Exercises for Low Back Pain:
1) Pelvic Tilt
- Lie on your back, bend your knees and place the soles of your feet on the floor about hip-width or wider apart. Place your arms at your sides.
- Bring your attention to the pelvis and the area of the lower back and spine.
- On the exhale, gently lengthen your lower back and scoop your tailbone under (posterior tilt) while drawing your belly button towards the spine. Then, tip your hips forward on the inhale, gently arching your lower spine.
- Option: Only practice the posterior tilt phase or hold for 5 seconds on the posterior tilt phase.
- Gently rock back and forth. Repeat ten times
2) Eye of the Needle
- Stay on your back with the soles of your feet on the floor.
- Cross one ankle over the opposite knee and thread your arms through your legs to grab either the shin or thigh. If you can’t reach the legs, use a strap or block as support.
- Hug your knees into the torso until you feel some pressure or stretch in the outer hip. To increase the sensation, gently paddle your upper knee away from you.
- Hold each side for 10-15 breaths.
3) Supta Padangusthasana
- Stay on your back with the soles of your feet on the floor.
- Extend one leg toward the ceiling and loop a strap around the foot. Hold your extended leg upward and create a gentle stretch along the back of the leg.
- Invite your lower back and sacrum (triangle-shaped bone at the base of the spine) to release and spread. Feel free to bend the extended leg gently if this creates more comfort.
- Hold each side for 10-15 breaths.
4) Bridge Pose with Glute Engagement
- Stay on your back with the soles of your feet on the floor about hip-width or wider apart.
- Press into your feet and lift the hips off the mat. Engage your glutes (butt muscles) as you lift.
- Slowly lower back down to the floor.
- Move slowly and mindfully – pay attention to sensation and your breath.
- Repeat two sets of ten times.
5) Dead Bug
- Stay on your back with your feet flat on the floor.
- Next, lift your feet so your shins are parallel to the floor and reach your arms up towards the ceiling so that your arms are directly above your shoulders.
- From this position, reach one arm and the opposite leg away from one another.
- Come back to the center and repeat on the opposite side.
- Practice 5-10 repetitions.
6) Pointer Dog
- Roll over and come onto all fours. Place your hands directly under your shoulders and your knees directly under your knees.
- Gently extend one leg behind you and the opposite arm in front of you while keeping your low back still.
- Slowly lower the knee and hand back to the ground.
- Repeat the movement on the other side.
- Repeat the action ten times on each side, alternating legs and arms.
Keep using these practices consistently, and there is a high chance that the recurrence of your back pain will be reduced. Good luck, and see you soon!

